If you’re an avid tennis player, you know how expensive it can be to rent a court or join a club. That’s why building your own DIY tennis court can be an excellent investment and a fun project to take on. With the right tools and preparation, you can have your own court in your backyard without breaking the bank.
Before you start, it’s essential to find a suitable spot for your court. You’ll need to measure out an area of at least 120′ x 60′, which is the recommended size for a tennis court. You’ll also want to keep it at least 10-20 feet away from your home to avoid any damage from stray balls. Once you have your location, you can start preparing the area and gathering the necessary materials.
While building your DIY tennis court may seem like a daunting task, it can be done with just one person working on the project. With the right plan and tools, you can have a court that meets your needs and specifications. In this article, we’ll go over the steps you need to take to build your own DIY tennis court and provide helpful tips along the way.
1. DIY Tennis Court: Understanding Tennis Court Dimensions
If you’re planning on building your own DIY tennis court, it’s crucial to understand the dimensions of the court. Tennis courts are rectangular in shape and typically measure 78 feet in length and 36 feet in width, with a total area of 2,808 square feet. However, the full court area is used only for doubles matches, while singles matches are played on a smaller court that measures 78 feet in length and 27 feet in width, with an area of 2,106 square feet.
Singles Court Dimensions
The singles court is smaller than the doubles court, with a width of 27 feet instead of 36 feet. The singles court is also longer than the doubles court, with a length of 78 feet. The net height for both singles and doubles courts is the same, which is 3 feet at the center and 3 feet 6 inches at the posts.
Doubles Court Dimensions
The doubles court is wider than the singles court, with a width of 36 feet instead of 27 feet. The doubles court is also shorter than the singles court, with a length of 78 feet. The net height for both singles and doubles courts is the same, which is 3 feet at the center and 3 feet 6 inches at the posts.
It’s important to note that the dimensions of the court are not the only factors that affect the game of tennis. The surface of the court, the net tension, and the ball type are also important factors that can affect the game. However, understanding the dimensions of the court is a crucial first step in building your own DIY tennis court.
2. DIY Tennis Court: Choosing the Right Location
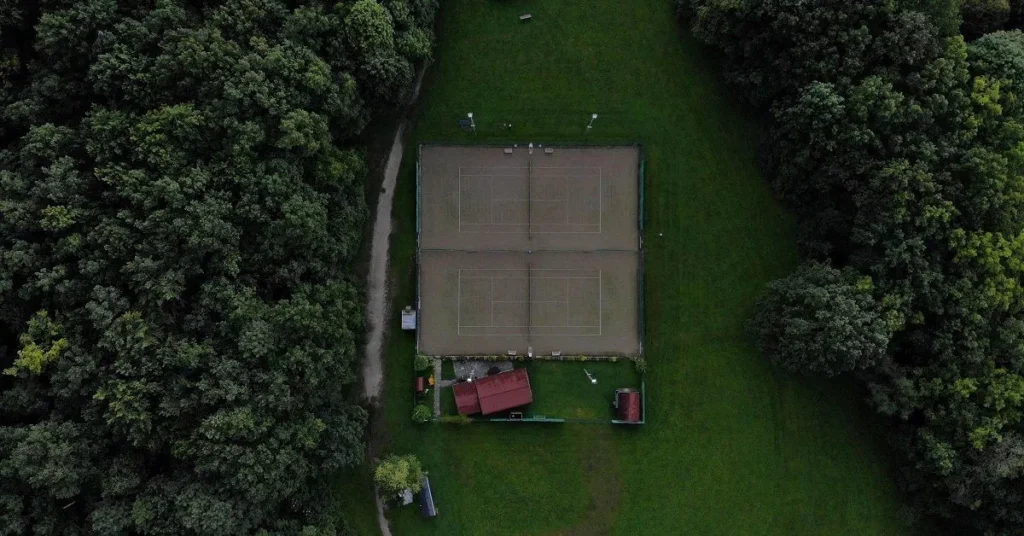
When it comes to building your DIY tennis court, choosing the right location is crucial. Here are some factors to consider:
Space
The first thing you need to consider is the amount of space you have available. A standard tennis court is 78 feet long and 36 feet wide, but you’ll need additional space around the court for fencing, landscaping, and other features. You should aim for a total area of at least 120 feet by 60 feet.
Sun Exposure
It’s important to choose a location that gets plenty of sun exposure. All in all tennis is an outdoor sport, and you don’t want to be playing in the shade all the time. Look for a location that gets at least six hours of direct sunlight per day.
Slope
The ideal location for your DIY tennis court is a flat, level area. If your yard has a slope, you’ll need to level it out before you start construction. You can do this by adding or removing soil as needed.
Drainage
Proper drainage is essential for any outdoor sports court, including tennis. If your yard doesn’t have good drainage, you’ll need to install a drainage system before you start construction. This can include a French drain or a series of perforated pipes.
Zoning Regulations
Before you start building your DIY tennis court, you’ll need to check your local zoning regulations. Some areas have restrictions on the size and location of outdoor sports courts. You may also need to get a permit before you start construction.
By considering these factors, you can choose the right location for your DIY tennis court. With the right planning and preparation, you can create a high-quality court that will provide years of enjoyment for you and your family.
3. DIY Tennis Court: Materials and Equipment Needed
Building your DIY tennis court requires a variety of materials and equipment. Here are the essential ones you’ll need:
Materials
- Fence material: You will need to enclose your court in a fence. The material you choose depends on your budget and preferences. The most popular materials are chain link and vinyl-coated chain link. The fence should be at least 10 feet tall and have a gate for entry and exit.
- Court surface material: The surface of your court will depend on your preferences and budget. The most popular options are asphalt, concrete, and clay. Asphalt is the most affordable option, but it requires regular maintenance. Concrete is durable and low-maintenance, but it can be hard on the joints. Clay is the most expensive option, but it provides a softer surface for the players.
- Net material: The net is an essential component of your DIY tennis court. You can purchase a net online or at a sporting goods store. The net should be 3 feet high in the center and 3.5 feet high at the posts.
- Court marking paint: You will need paint to mark the lines on your court. You can purchase court marking paint online or at a sporting goods store. The paint should be weather-resistant and non-slip.
Equipment
- Excavator: You will need an excavator to dig out the area where you will build your court. You can rent an excavator from a construction equipment rental company.
- Roller: You will need a roller to compact the soil before laying down the court surface. You can rent a roller from a construction equipment rental company.
- Level: You will need a level to ensure that your court is flat and even. You can purchase a level at a hardware store.
- Trowel: You will need a trowel to apply the court marking paint. You can purchase a trowel at a hardware store.
- Tape measure: You will need a tape measure to measure the dimensions of your court. You can purchase a tape measure at a hardware store.
Building your DIY tennis court requires a significant investment of time and money, but it can be a rewarding project. With the right materials and equipment, you can create a beautiful and functional court that will provide years of enjoyment for you and your family.
4. DIY Tennis Court: Preparing the Ground
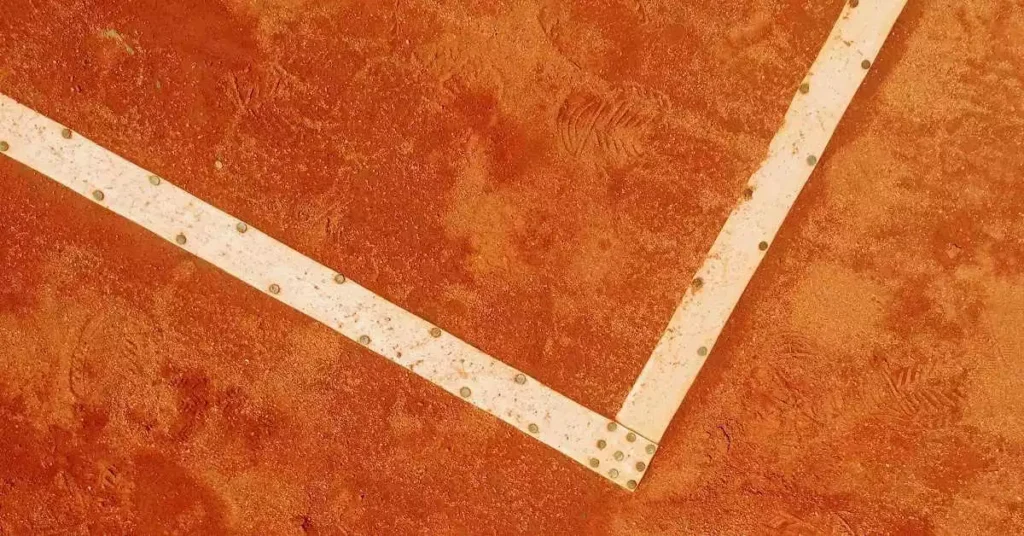
Before starting your DIY tennis court project, it’s essential to prepare the ground. This process involves clearing the area and leveling the ground. Proper preparation ensures that your DIY tennis court is safe, level, and long-lasting.
Clearing the Area
The first step in preparing the ground is to clear the area. Remove any trees, rocks, or debris that may be in the way. Ensure that the area is clear of any vegetation, such as grass or weeds. If you’re building a grass tennis court, you’ll need to remove the existing grass and weeds to create a level surface.
Levelling the Ground
Once the area is clear, it’s time to level the ground. A level surface is crucial for the safety and playability of your DIY tennis court. Start by removing any high spots using a shovel or a sod cutter. Then, fill in any low spots with soil or sand to create a level surface. Check the level using a long straight edge or a laser level.
It’s important to note that the ground should be sloped slightly to allow for proper drainage. A slope of 1% to 2% is recommended. This means that for every 100 feet of court length, the slope should be 1 to 2 feet. Ensure that the slope is consistent across the entire surface.
In conclusion, preparing the ground is a critical step in building a DIY tennis court. Clearing the area and leveling the ground will ensure that the tennis court is safe, level, and long-lasting. By following these steps, you’ll be one step closer to having your own tennis court.
5. DIY Tennis Court: Laying the Foundation
Before you start building your own DIY tennis court, you need to lay the foundation. This is an important step that will determine the stability and durability of your court. The foundation provides support for the layers of porous asphalt and allows water to drain away from the surface of the court. If water is held in the sub-surface, frost can cause the court to heave.
Here are the steps you need to follow to lay the foundation of your tennis court:
- Site Preparation: The first step is to prepare the site. Remove all the vegetation and debris from the area where you want to build your court. Make sure that the site is level and free of any bumps or depressions. It is important to take the time to properly prepare the site to ensure that your court is level and stable.
- Excavation: Once the site is prepared, it is time to excavate the area. You need to dig down to a depth of at least 12 inches. This will ensure that you have enough room for the layers of the foundation. You can use a mini excavator or a backhoe to do the excavation work.
- Grading: After the excavation is complete, you need to grade the site. This means that you need to level the area and make sure that it is smooth. You can use a laser level or a string line to ensure that the site is level.
- Sub-base: The next step is to lay the sub-base. The sub-base is made up of crushed stone or gravel. It provides a stable base for the layers of the foundation. You need to lay the sub-base in layers of about 3 inches and compact each layer using a plate compactor.
- Base Course: After the sub-base is laid and compacted, it is time to lay the base course. The base course is made up of crushed stone or gravel that is larger in size than the sub-base. You need to lay the base course in layers of about 3 inches and compact each layer using a plate compactor.
- Binder Course: The final layer of the foundation is the binder course. The binder course is made up of asphalt concrete. You need to lay the binder course in layers of about 2 inches and compact each layer using a plate compactor.
By following these steps, you will be able to lay a solid foundation for your tennis court. This will ensure that your court is stable, durable, and provides a good playing surface.
6. DIY Tennis Court: Installing the Surface
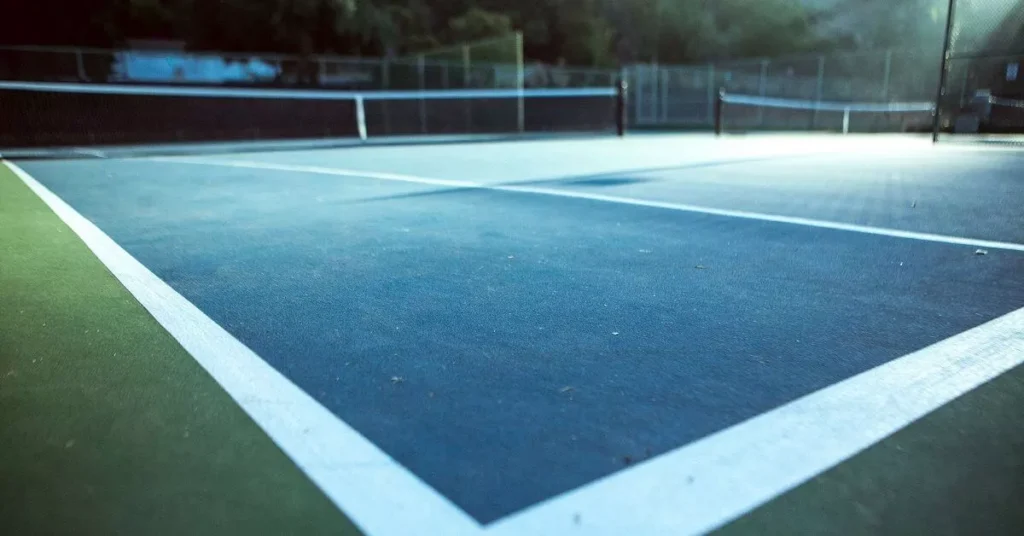
When it comes to installing the surface of your DIY tennis court, there are a few options to choose from. Each surface has its own advantages and disadvantages, so it’s important to consider your needs and preferences before making a decision.
Asphalt Surface Installation
Asphalt is a popular choice for tennis court surfaces due to its durability and low maintenance requirements. However, it can be quite expensive and may require professional installation. If you choose to install an asphalt surface, here are the steps you should follow:
- Prepare the area: Clear the area of any debris and ensure that the ground is level and compacted.
- Lay the base: Lay a base layer of crushed stone and compact it with a roller.
- Install the asphalt: Apply a layer of hot mix asphalt and use a roller to ensure that it is evenly distributed.
- Apply the topcoat: Apply a layer of acrylic topcoat to protect the surface and provide traction.
Clay Surface Installation
Clay surfaces are known for their slow play and high bounce, making them a popular choice for professional tennis players. However, they require regular maintenance and can be difficult to install. If you choose to install a clay surface, here are the steps you should follow:
- Prepare the area: Clear the area of any debris and ensure that the ground is level and compacted.
- Lay the base: Lay a base layer of crushed stone and compact it with a roller.
- Install the clay: Apply a layer of crushed brick or shale and use a roller to compact it.
- Apply the topcoat: Apply a layer of clay court conditioner to provide traction and prevent the surface from cracking.
Grass Surface Installation
Grass surfaces are known for their fast play and low bounce, but they require a lot of maintenance and can be expensive to install. If you choose to install a grass surface, here are the steps you should follow:
- Prepare the area: Clear the area of any debris and ensure that the ground is level and compacted.
- Lay the base: Lay a base layer of crushed stone and compact it with a roller.
- Install the grass: Lay down sod or seed the area with grass and water it regularly.
- Maintain the surface: Mow the grass regularly and ensure that it is properly irrigated and fertilized.
Overall, each surface has its own advantages and disadvantages, so it’s important to consider your needs and preferences before making a decision. Whether you choose asphalt, clay, or grass, proper installation and maintenance are key to ensuring a high-quality playing surface.
7. DIY Tennis Court: Setting Up Court Lines
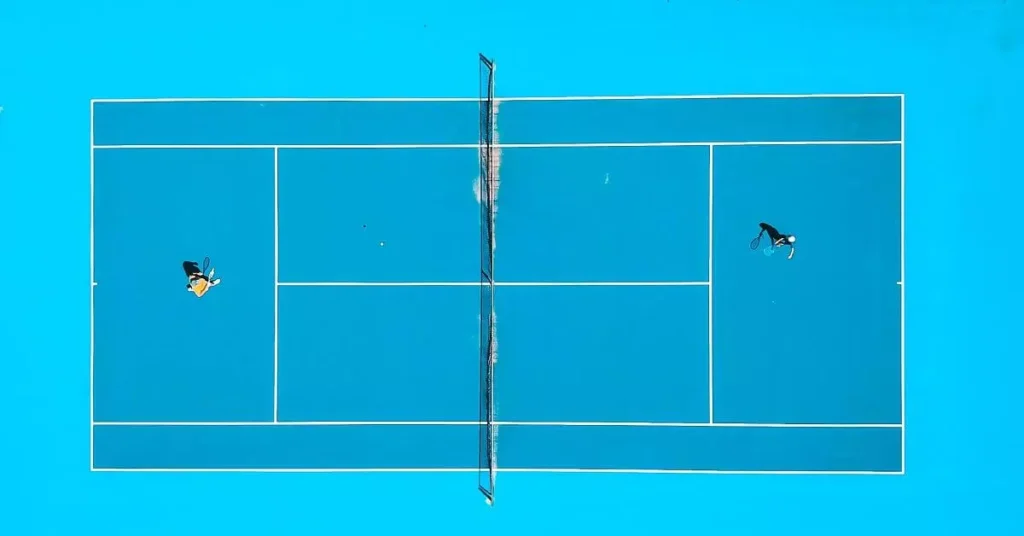
Setting up court lines is an essential step in building your own DIY tennis court. Properly installed lines will ensure that your court meets the standard size and shape requirements. Here are some tips to help you set up your court lines correctly:
Measuring and Marking the Court
Before you start setting up your court lines, you need to measure and mark the court properly. Any mistake in dimensions will complicate the process, so take all the time necessary to ensure accurate measurements. You will need to measure and mark the following lines:
- Baseline: The baseline is the line at the back of the court, parallel to the net.
- Service Line: The service line is the line that runs perpendicular to the net and divides the court into two equal halves.
- Center Mark: The center mark is a small line that runs perpendicular to the service line and marks the center of the court.
- Alley: The alleys are the areas on the sides of the court that are used for doubles play.
Installing the Lines
Once you have measured and marked the court, you can start installing the court lines. You can use line tapes or paint to install the lines. Here are some tips for installing the lines:
- Use a nail to mark the spot where the line tape or paint will start and end.
- Make sure the line tape or paint is straight and even.
- Allow the line tape or paint to dry completely before playing on the court.
Maintaining the Lines
Maintaining the lines is important to ensure that they remain visible and accurate. Here are some tips for maintaining the lines:
- Sweep the court regularly to remove debris that may cover the lines.
- Use a line sweeper or broom to keep the lines clean and visible.
- Touch up the lines with paint or line tape as needed.
With these tips, you should be able to set up the lines on your DIY tennis court with ease. Remember to take your time and ensure accurate measurements to ensure that your court meets the standard size and shape requirements.
8. DIY Tennis Court: Installing the Net
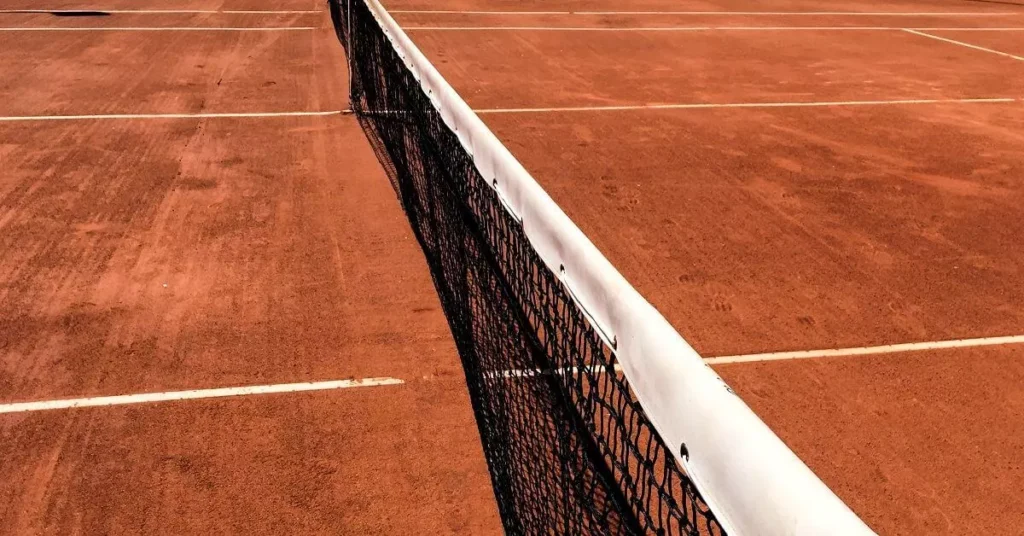
Once you have prepared the court surface and marked the boundaries, it’s time to install the net. Here are the steps to follow:
- Remove the old net by cutting the twine. Unhook the center strap and release the net cable. Fold up the old net and remove it from the court for disposal.
- Prepare the new tennis net for installation by removing it from the box and inspecting it for any damage or defects.
- Attach the new tennis net to the posts by sliding the top of the net through the top loops on the posts. Make sure the net is centered and straight.
- Adjust the net height by using the center strap. The net should be 3 feet high in the center and 3 feet 6 inches high at the posts.
- Tension the net by tightening the net cable. Use a net tensioning tool to tighten the cable until the net is taut. Make sure the net is level and has no sagging areas.
- Secure the net by tying the twine to the posts. Tie the twine around the post and through the bottom loops on the net. Tie the twine tightly and cut off any excess.
Congratulations! You have successfully installed a new tennis net. Remember to check the net tension regularly and adjust it as needed to ensure a fair game.
DIY Tennis Court: Maintenance Tips
Maintaining your DIY tennis court is essential to ensure it lasts for years to come. Here are some maintenance tips to keep your tennis court in top condition:
1. Keep the Surface Clean
Dirt, leaves, and other debris can accumulate on the court surface, making it slippery and unsafe to play on. Regularly sweep or blow off the court to remove any debris. You can also use a pressure washer to clean the court surface thoroughly.
2. Repair Cracks and Damage
Over time, your tennis court may develop cracks or other damage. These can be repaired with a patching compound or crack filler. Make sure to follow the manufacturer’s instructions and allow the compound to dry completely before playing on the court.
3. Maintain Proper Drainage
Proper drainage is crucial for the longevity of your tennis court. Make sure that any drainage systems are clear of debris and functioning correctly. If you notice standing water on the court after rain, you may need to adjust the slope or add drainage channels.
4. Keep the Net in Good Condition
The net is an essential component of your tennis court, and it should be kept in good condition. Check the net regularly for any signs of wear or damage, and replace it if necessary. You can also use a net cleaner to keep the net looking its best.
5. Resurface as Needed
Over time, the surface of your DIY tennis court may become worn or faded. Resurfacing the court can restore its appearance and improve its performance. The frequency of resurfacing will depend on factors such as usage, weather, and the quality of the original installation.
By following these maintenance tips, you can ensure that your DIY tennis court remains in top condition for years to come.
FAQ
What surfaces are suitable for playing tennis?
Tennis can be played on a variety of surfaces, including grass, clay, hard court, and carpet. However, the most popular surface for tennis is hard court. Hard courts are durable, low-maintenance, and provide a consistent bounce. They can be made from a variety of materials, including concrete, asphalt, and acrylic.
How much does it cost to build a backyard tennis court?
The cost of building a backyard DIY tennis court can vary widely depending on factors such as the size of the court, the type of surface, and the location. On average, you can expect to pay between $10,000 and $50,000 for a basic backyard tennis court. However, costs can easily exceed $100,000 for a more elaborate court with lighting, fencing, and other features.
What are some ideas for a small backyard tennis court?
If you have a small backyard, you can still enjoy playing tennis. One option is to build a half-court, which is smaller than a full-size court and requires less space. Another option is to use a portable net and set up a makeshift court on a flat surface such as a driveway or parking lot.
How can you resurface your DIY tennis court on your own?
Resurfacing your DIY tennis court is a major undertaking that should be left to professionals. However, if you have some DIY skills and are willing to put in the time and effort, you can resurface a tennis court on your own. The process involves cleaning the court, repairing any cracks or damage, applying a new coat of surfacing material, and painting the lines.
What are some DIY options for building a tennis wall?
If you want to practice your tennis skills but don’t have a partner to play with, you can build a tennis wall. A simple and inexpensive option is to attach a piece of plywood to a fence or wall and paint a target on it. Another option is to build a more elaborate wall using cinder blocks or concrete.
What is the cheapest surface for your DIY tennis court?
The cheapest surface for your DIY tennis court is typically a clay or grass court. However, these surfaces require a lot of maintenance and may not be suitable for all climates. If you are looking for a low-cost and low-maintenance option, a hard court made from asphalt or concrete may be your best bet.
Are you ready to build your own tennis court? Share your tips, tricks, and DIY experiences in the comments below. Let’s help each other create the perfect court for our homes!

